Valentines Snacks Mini Dessert Cups
Highlighted under: Oven-Made Sweets
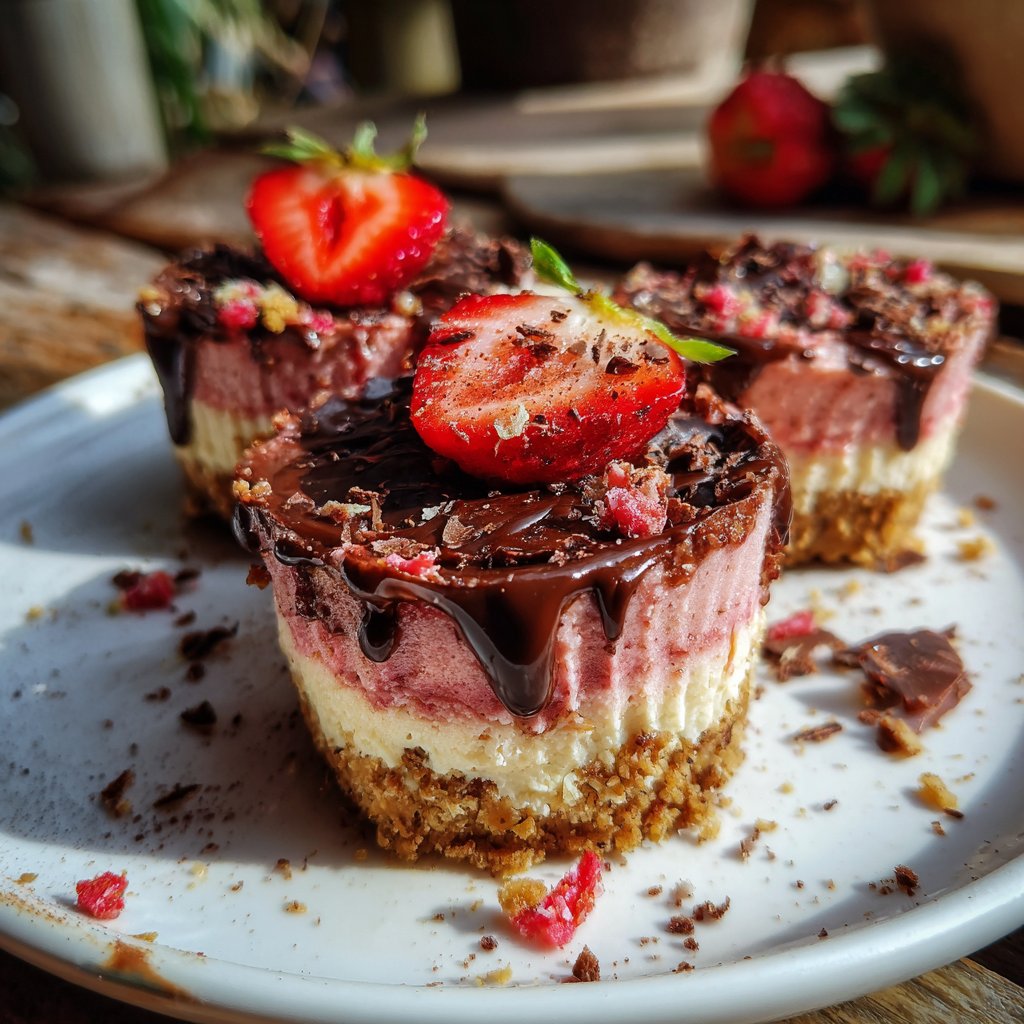
I absolutely adore creating unique and flavorful desserts for special occasions, and these Valentines Snacks Mini Dessert Cups are no exception! They are charming, easy to prepare, and perfect for sharing with loved ones. Each cup is a delightful mix of creamy layers and crunchy textures, and they never fail to impress my friends and family. Plus, these mini dessert cups can be customized in countless ways, making them a win for any celebration. Get ready to indulge in a treat that's as beautiful as it is delicious!
When I was experimenting with different desserts for Valentine’s Day, I wanted something that was both visually appealing and delicious. After a few trials, I settled on these mini dessert cups because they pack an amazing flavor punch while being incredibly easy to put together. Layering different textures is key; I love using a mix of creamy whipped topping, fresh strawberries, and crunchy cookie crumbles to create that perfect bite.
The secret to elevating these cups is using high-quality ingredients. Fresh fruits not only add vibrant color but enhance the flavor, while a good whipped topping gives each layer a luscious, airy quality. Trust me, you won't want to skip on freshness here—it really makes all the difference in your final presentation and taste!

Why You Will Love These Mini Dessert Cups
- Adorable presentation that's perfect for sharing.
- Layers of flavor that balance creamy and crunchy.
- Quick and easy to prepare, ideal for last-minute guests.
Choosing the Right Cookies
The choice of cookies can significantly affect the flavor and texture of your mini dessert cups. Classic options like Oreos provide a rich chocolate flavor and a satisfying crunch that pairs beautifully with the creamy layers. Alternatively, if you prefer a lighter option, graham crackers offer a subtle sweetness and a crumbly texture. Consider using a blend of both for a unique taste experience; just crush them finely to ensure they layer well. The key is achieving the right balance between crunchiness and creaminess in each bite.
If you're looking to customize further, consider using gluten-free cookies or even flavored varieties, such as chocolate chip or peanut butter, to give your dessert cups an unexpected twist. Just adjust the amount of sugar used in other layers if your cookies are already sweet. Experimenting with different cookies can turn this dessert into a signature dish that's entirely your own!
Perfecting Layering Technique
Layering is essential for both presentation and textural contrast in dessert cups. When layering, ensure that each layer is compact but not too tight, allowing the flavors to meld without losing the distinct components. Start with a generous amount of crushed cookies on the bottom; this base not only adds crunch but also supports the creamy layers above. As you build up your layers, gently tap the cups on the countertop to settle the ingredients evenly, which will help create a visually appealing dessert.
I recommend using transparent cups to showcase the beautiful layers, as well as providing a visual cue to your guests about what they’re about to indulge in. Aim for an even distribution of whipped topping and strawberries in each cup, which will also help each guest enjoy a balanced mix of flavors in their servings. It's all about the artistry of presentation – and don't forget to leave some whipped topping for the final layer; it serves as a delightful crown for your dessert!
Serving and Storage Tips
To serve your mini dessert cups most effectively, aim to chill them for at least 30 minutes before guests arrive. This not only enhances the flavors as they meld together but also ensures that the whipped topping is firmer and holds its shape when served. For an elegant serving touch, consider adding decorative spoons or forks that match your occasion’s theme. You can even add a small sprig of mint or edible flowers for an extra visual pop.
If you have any leftovers, store them covered in the refrigerator, but try to consume them within 2-3 days for optimal freshness. Unfortunately, the crispy texture of the cookies will begin to soften over time due to moisture from the whipped topping and strawberries, so if you plan to make these ahead, consider storing the layers separately until just before serving. This way, you can maintain that delightful crunch and creamy layered experience for your family and friends.
Ingredients
Ingredients
For the Mini Dessert Cups
- 1 cup whipped topping
- 1/2 cup crushed cookies (like Oreos or graham crackers)
- 1 cup fresh strawberries, diced
- 2 tablespoons sugar
- Chocolate shavings for garnish
Adjust the ingredients based on your personal taste or dietary needs. Feel free to replace strawberries with other fruits like raspberries or blueberries!
Instructions
Instructions
Prepare the Strawberries
In a mixing bowl, combine the diced strawberries and sugar. Let them sit for about 10 minutes to macerate, which will enhance their flavor.
Layer the Ingredients
In your serving cups, start by adding a layer of crushed cookies, followed by a layer of whipped topping and then a layer of the macerated strawberries. Repeat the layers until the cups are full, finishing with a layer of whipped topping.
Garnish and Serve
Top each cup with chocolate shavings and a slice of strawberry for an elegant touch. Refrigerate until ready to serve, preferably for at least 30 minutes.
Serve these delightful mini dessert cups chilled for the best experience!
Pro Tips
- For an added flair, you can drizzle some melted chocolate over the top before serving, or use a layer of flavored gel for added color and taste.
Flavor Variations
One of the best aspects of these mini dessert cups is their versatility. While strawberries add a lovely sweetness, feel free to substitute them with other fruits like blueberries, raspberries, or even diced peaches depending on what's in season. Mixing different berries can provide a vibrant color and a tart contrast to the creamy layers, resulting in a refreshing dessert that surprises the palate. You could also consider grilling fruits like peaches or pineapple for a smoky flavor enhancement.
Additionally, for a chocolate lover’s twist, try incorporating chocolate pudding as a layer between the whipped topping and the fruit. This rich addition can deepen the flavor profile and create a more decadent dessert experience. For a seasonal spin, adding a hint of pumpkin spice or cinnamon into the whipped topping gives a warm nuance that’s perfect for autumn or winter celebrations.
Troubleshooting Tips
If you find that your whipped topping isn’t holding its shape, it may be due to excessive mixing or using a lower-fat version. For best results, opt for a premium brand of whipped topping and gently fold it, rather than beating it, which can introduce excess air and make it less stable. If your dessert cups begin to look a bit sad, adding a fresh fruit garnish right before serving can definitely revive their visual appeal.
Another common issue is the dessert cups becoming overly soggy due to the moisture from the fruits. To combat this, ensure that you macerate the strawberries just long enough to enhance their sweetness without releasing too much juice. Go for about 10 minutes, and if you notice any excessive liquid, drain it before adding the strawberries into the cups to maintain that delightful structure until serving time.
Questions About Recipes
→ Can I make these dessert cups in advance?
Yes, you can prepare the cups a few hours ahead of time, but it's best to add the garnishes right before serving to keep them fresh.
→ What other fruits can I use?
You can easily swap out strawberries for other fruits like kiwi, blueberries, or even peaches, depending on what’s in season.
→ Can I use a different type of topping?
Absolutely! Feel free to use regular whipped cream, Greek yogurt, or a dairy-free alternative if you prefer.
→ How long do leftovers last?
Leftover dessert cups can be stored in the refrigerator for up to two days, but I recommend enjoying them fresh for the best flavor.
Valentines Snacks Mini Dessert Cups
What You'll Need
For the Mini Dessert Cups
- 1 cup whipped topping
- 1/2 cup crushed cookies (like Oreos or graham crackers)
- 1 cup fresh strawberries, diced
- 2 tablespoons sugar
- Chocolate shavings for garnish
How-To Steps
In a mixing bowl, combine the diced strawberries and sugar. Let them sit for about 10 minutes to macerate, which will enhance their flavor.
In your serving cups, start by adding a layer of crushed cookies, followed by a layer of whipped topping and then a layer of the macerated strawberries. Repeat the layers until the cups are full, finishing with a layer of whipped topping.
Top each cup with chocolate shavings and a slice of strawberry for an elegant touch. Refrigerate until ready to serve, preferably for at least 30 minutes.
Extra Tips
- For an added flair, you can drizzle some melted chocolate over the top before serving, or use a layer of flavored gel for added color and taste.
Nutritional Breakdown (Per Serving)
- Calories: 220 kcal
- Total Fat: 10g
- Saturated Fat: 5g
- Cholesterol: 20mg
- Sodium: 90mg
- Total Carbohydrates: 30g
- Dietary Fiber: 1g
- Sugars: 14g
- Protein: 2g