Easy Stained Glass Cookies
Highlighted under: Seasonal Specialties
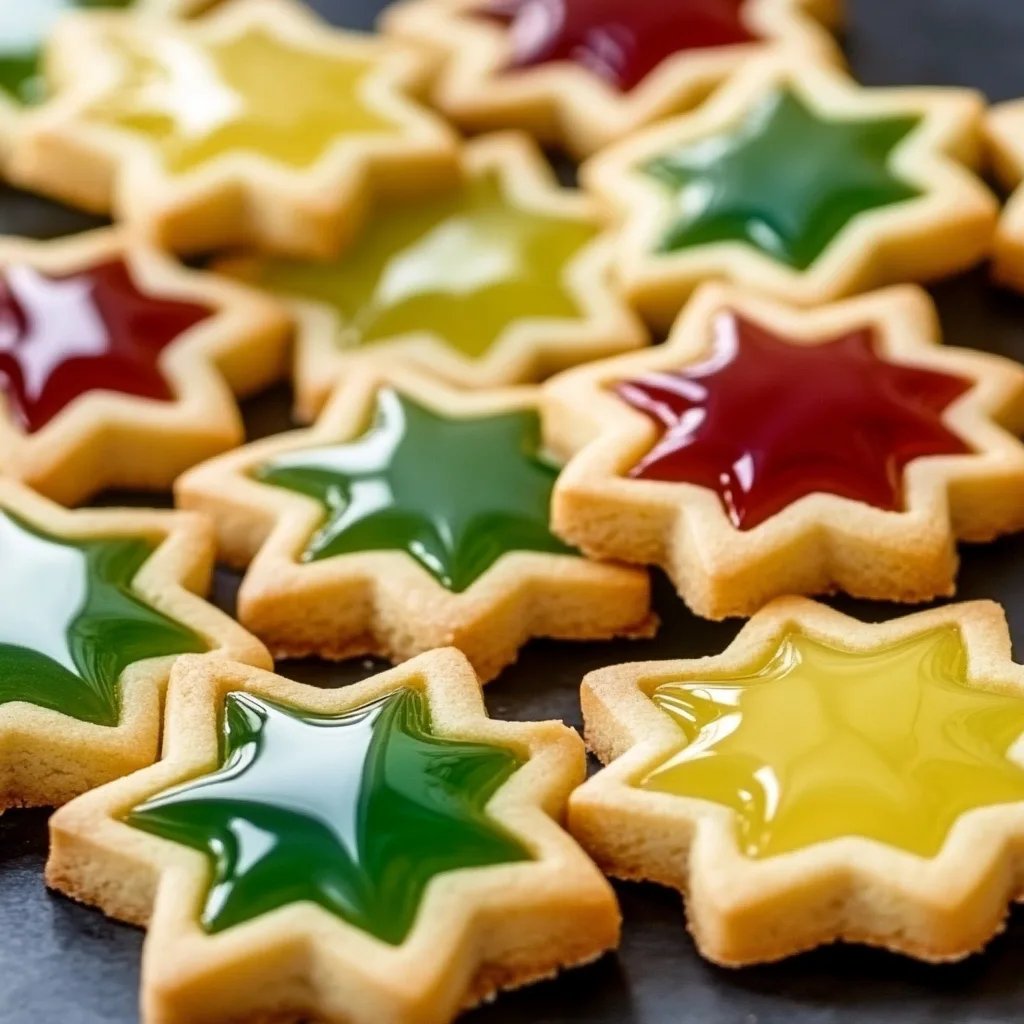
Brighten up your holiday baking with these stunning Easy Stained Glass Cookies! Fun to make and beautiful to display, these cookies feature a colorful candy center that shines like stained glass. Perfect for festive gatherings, they make a delightful and edible decoration that kids and adults alike will love. Follow this simple recipe for a sweet treat that adds a special touch to any celebration.
These Easy Stained Glass Cookies are not just a treat for the taste buds, but also a feast for the eyes. The vibrant colors and shiny appearance mimic real stained glass, making them a showstopper on any cookie platter!

A Festive Treat for All Occasions
Stained glass cookies are not only visually stunning but also make a fantastic addition to any holiday menu. Their vibrant colors and unique appearance serve as a conversation starter at gatherings, instantly drawing attention to your dessert table. Whether it's Christmas, Easter, or a birthday party, these cookies can easily fit into the theme with the right colors and shapes. Guests of all ages will be dazzled by these delightful cookies, making them a hit for family gatherings and celebrations alike.
Making stained glass cookies is an enjoyable activity that brings people together. Kids and adults can participate in the cookie-making process, from rolling out the dough to selecting colorful candies for the centers. This recipe allows for creativity, as you can use different cookie shapes and color combinations to customize your cookies. It’s a wonderful way to bond with family or friends and create lasting memories during the baking process.
Tips for Success
To achieve the best results with your stained glass cookies, it's important to use high-quality hard candies. Jolly Ranchers are a popular choice as they melt beautifully and offer vibrant colors. You can even experiment with other brands or types of hard candy to create unique flavors and color combinations. Just be sure to crush the candies into small pieces, as larger chunks may not melt as evenly or could cause the cookies to break when baked.
Another tip is to ensure your dough is properly chilled before cutting and baking. Chilling the dough helps to maintain its structure, preventing the cookies from spreading too much in the oven. If your dough feels too soft after rolling it out, consider chilling it again for a short period before cutting the shapes. This step will ensure that you achieve the perfect shape and thickness, resulting in a visually appealing cookie.
Storing and Displaying Your Cookies
Once you've baked your stunning stained glass cookies, proper storage is essential to maintain their freshness and appearance. Keep them in an airtight container at room temperature for up to one week. If you want to keep them for longer, consider freezing the undecorated cookies and adding the candy centers before serving. This way, you can enjoy fresh stained glass cookies anytime you like, without the hassle of starting from scratch each time.
For a beautiful display, consider using a decorative cake stand or a glass jar to showcase your cookies. Their colorful centers will catch the light beautifully, resembling real stained glass art. Whether you’re serving them at a party or giving them as gifts, your cookies will surely impress everyone with their vibrant colors and artistic presentation.
Ingredients
For the Cookies
- 2 3/4 cups all-purpose flour
- 1 teaspoon baking powder
- 1/2 teaspoon salt
- 1 cup unsalted butter, softened
- 1 cup granulated sugar
- 1 egg
- 1 teaspoon vanilla extract
- Colored hard candies ( Jolly Ranchers work well)
Ensure the hard candies are crushed into small pieces for the best results.
Instructions
Prepare the Dough
In a bowl, whisk together the flour, baking powder, and salt. In a separate bowl, cream the butter and sugar until light and fluffy. Beat in the egg and vanilla. Gradually add the dry ingredients, mixing until just combined.
Chill and Shape
Wrap the dough in plastic wrap and chill in the refrigerator for at least 1 hour. Once chilled, roll out the dough to 1/4 inch thick and cut into desired shapes using cookie cutters. Cut out a smaller shape in the center of each cookie.
Add Candy
Preheat the oven to 350°F (175°C). Place the cookies on a baking sheet lined with parchment paper. Fill the center of each cookie with crushed hard candy. Bake for 8-10 minutes, until the edges are lightly golden and the candy center has melted.
Cool and Enjoy
Allow the cookies to cool completely on the baking sheet. Once cooled, they will harden, and you can enjoy your beautiful stained glass cookies!
Enjoy them with family and friends during your holiday gatherings!
Pro Tips
Use different colors of hard candies to create a variety of stained glass effects.
Understanding the Baking Process
Baking cookies is not just about following a recipe; it's a science that involves careful attention to detail. Each ingredient plays a crucial role, influencing the final texture and flavor of your cookies. For instance, the butter contributes to the richness while the sugar aids in browning and adds sweetness. Understanding how these elements work together will improve your baking skills and ensure your cookies turn out perfectly every time.
The temperature at which you bake plays a key role in achieving the right consistency. Using an oven thermometer can help you verify that your oven heats accurately. This small tool can make a big difference, ensuring that your stained glass cookies bake evenly and maintain their shape during the process. A preheated oven creates an ideal environment for the cookies to rise and set without spreading too much.
Variations to Try
While the classic stained glass cookie is sure to please, don’t hesitate to shake things up! Consider adding flavor extracts like almond or lemon to the cookie dough for an exciting twist on the traditional flavor profile. Additionally, experimenting with different types of candies can provide a wonderful variety in taste and appearance. Try using fruit-flavored hard candies or even a mix of flavors for a fun surprise in every bite.
You can also create themed cookies by using cookie cutters that align with holidays or special occasions. For Halloween, consider using pumpkin and ghost shapes, filled with orange and purple candies. In the spring, floral shapes with pastel-colored centers could brighten up any celebration. These tiny adjustments can help keep your cookie-making experience fresh and exciting every time you bake.
Questions About Recipes
→ Can I use different shapes for the cookies?
Absolutely! Use any cookie cutters you like to create festive designs.
→ How do I store the cookies?
Store the cookies in an airtight container at room temperature for up to a week.
Easy Stained Glass Cookies
Created by: Ruby Lawson
Recipe Type: Seasonal Specialties
Skill Level: Easy
Final Quantity: 24 cookies
What You'll Need
For the Cookies
- 2 3/4 cups all-purpose flour
- 1 teaspoon baking powder
- 1/2 teaspoon salt
- 1 cup unsalted butter, softened
- 1 cup granulated sugar
- 1 egg
- 1 teaspoon vanilla extract
- Colored hard candies ( Jolly Ranchers work well)
How-To Steps
In a bowl, whisk together the flour, baking powder, and salt. In a separate bowl, cream the butter and sugar until light and fluffy. Beat in the egg and vanilla. Gradually add the dry ingredients, mixing until just combined.
Wrap the dough in plastic wrap and chill in the refrigerator for at least 1 hour. Once chilled, roll out the dough to 1/4 inch thick and cut into desired shapes using cookie cutters. Cut out a smaller shape in the center of each cookie.
Preheat the oven to 350°F (175°C). Place the cookies on a baking sheet lined with parchment paper. Fill the center of each cookie with crushed hard candy. Bake for 8-10 minutes, until the edges are lightly golden and the candy center has melted.
Allow the cookies to cool completely on the baking sheet. Once cooled, they will harden, and you can enjoy your beautiful stained glass cookies!
Extra Tips
Use different colors of hard candies to create a variety of stained glass effects.
Nutritional Breakdown (Per Serving)
- Calories: 120
- Fat: 6g
- Carbohydrates: 18g
- Protein: 1g