Chocolate Honeycomb Bars
Highlighted under: Oven-Made Sweets
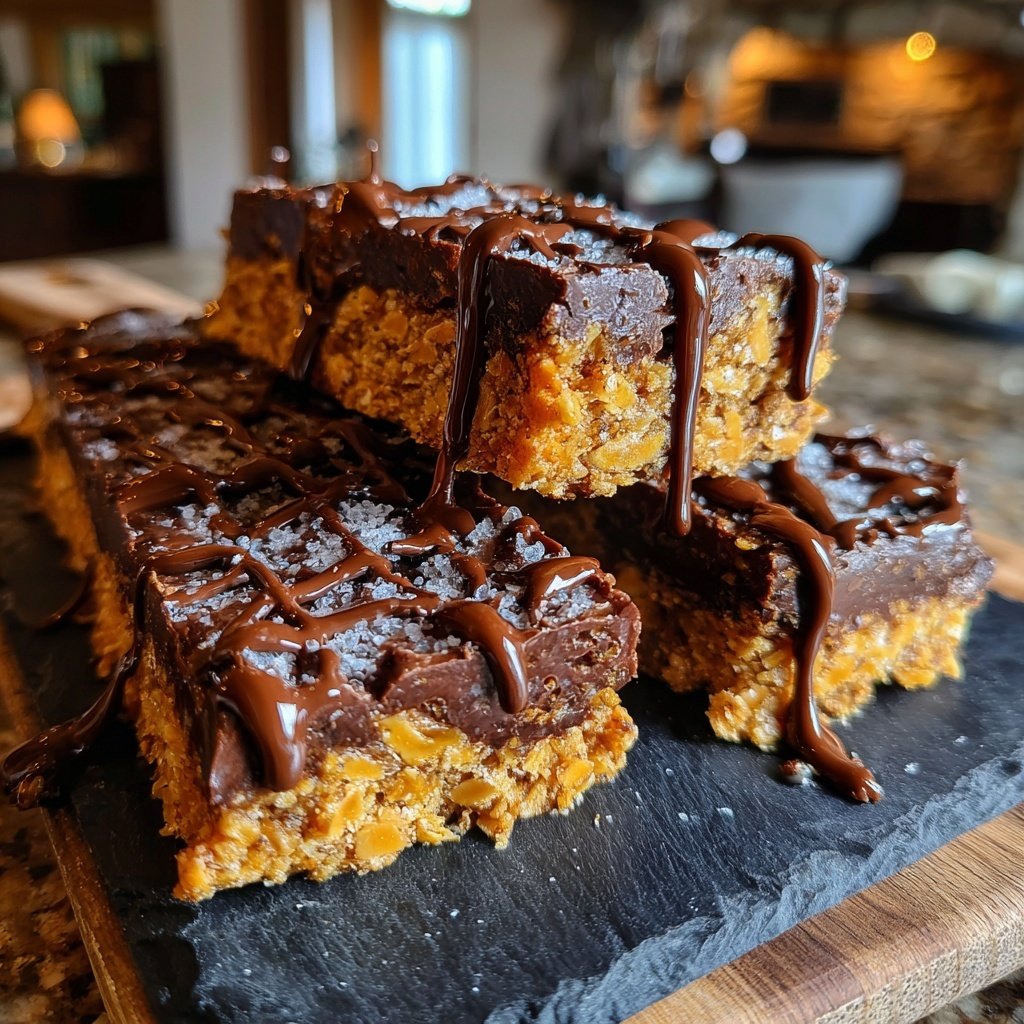
I absolutely love making Chocolate Honeycomb Bars for special occasions and treats at home. This recipe combines the delightful crunch of honeycomb with rich chocolate, creating a satisfying contrast that’s simply irresistible. Each bite delivers a unique texture that both kids and adults adore. What really excites me about this recipe is how simple it is to make, yet the end result feels decadent and impressive. It’s the perfect way to showcase my love for chocolate while indulging my sweet tooth.
When I first experimented with creating Chocolate Honeycomb Bars, I was amazed at how easy it was to make the honeycomb from scratch. The process of melting sugar and syrup to achieve that perfect golden hue is not only rewarding but also brings a wonderful aroma into the kitchen. I've learned that using a thermometer ensures the sugar reaches the right temperature for an airy honeycomb.
After letting the honeycomb cool, covering it with rich chocolate transforms a simple treat into something extraordinary. I often add a sprinkle of flaky sea salt on top to balance the sweetness and enhance the flavors. This little detail makes all the difference!
Why You'll Love These Bars
- Rich chocolate flavor paired with crunchy honeycomb texture
- Easy-to-follow recipe that impresses everyone
- Perfect for sharing at parties or enjoying as a personal treat
Mastering the Honeycomb
The honeycomb is the star of this recipe, providing both flavor and texture that truly elevates the chocolate bars. When making the honeycomb, patience is key. Allow the sugar and golden syrup mixture to boil without stirring until it reaches a temperature of around 150°C (302°F), which will ensure a good caramel color. If it darkens too quickly, reduce the heat to avoid burning.
Whisking in the baking soda is a critical step that contributes to the light, airy texture of the honeycomb. As you add it, you’ll see a dramatic reaction as the mixture bubbles up. This reaction incorporates air, which is essential for creating those bubbly cavities typical of honeycomb. Make sure to whisk quickly and thoroughly to avoid any lumps, which can affect the final texture.
Perfectly Coating the Honeycomb
When it comes to melting chocolate, precision is crucial. If using a microwave, you should do so in 30-second bursts, stirring in between to prevent overheating. The chocolate should be melted until it's smooth and glossy, with no lumps remaining. You can also use a double boiler method; just ensure no water seeps into the chocolate, as moisture can cause it to seize up. A good rule of thumb is to keep the temperature low and steady.
Coating the honeycomb pieces allows you to enjoy a creamy chocolate layer that complements the crunchiness of the honeycomb. Make sure each piece is fully submerged in chocolate for the best flavor distribution. After coating, tap off any excess chocolate before placing them on parchment paper, which helps to avoid a messy finish. This ensures that your bars not only taste great but also look enticing.
Ingredients
For the Honeycomb
- 200g granulated sugar
- 5 tablespoons golden syrup
- 1 teaspoon baking soda
For the Chocolate Coating
- 200g dark chocolate
- 50g milk chocolate
Instructions
Prepare the Honeycomb
In a medium saucepan, combine the granulated sugar and golden syrup. Heat over medium heat, stirring until the sugar has dissolved. Allow the mixture to boil without stirring until it reaches a golden caramel color. This should take about 5-7 minutes.
Add the Baking Soda
Remove the saucepan from heat and quickly whisk in the baking soda. The mixture will bubble vigorously, so be careful. Stir until the baking soda is fully incorporated.
Pour the Honeycomb
Pour the mixture onto a lined baking tray and spread it out gently if necessary. Let it cool completely and harden for about an hour.
Melt the Chocolate
While the honeycomb is cooling, chop the dark and milk chocolate. Melt them together in a heatproof bowl over simmering water or in the microwave in 30-second intervals.
Coat the Honeycomb
Once the honeycomb is set, break it into irregular pieces. Dip each piece in the melted chocolate, ensuring it's fully coated. Place the chocolate-covered honeycomb on a baking sheet lined with parchment paper.
Set and Enjoy
Let the chocolate set at room temperature, or refrigerate briefly to solidify. Once hardened, enjoy your homemade Chocolate Honeycomb Bars!

Pro Tips
- Experiment with different types of chocolate or add toppings like nuts or coconut for a fun twist on these bars.
Storage Tips
To keep your Chocolate Honeycomb Bars fresh, store them in an airtight container at room temperature. They will maintain their crunchiness for up to two weeks. If you live in a particularly humid environment, consider refrigerating them, but note that refrigeration can make the honeycomb slightly less crunchy over time. Always let them come back to room temperature before serving to restore some of that crispness, as the cold air can intensify the textures.
For longer-term storage, you can freeze your chocolate-covered honeycomb bars. Wrap each bar tightly in plastic wrap, then place them in a freezer-safe bag. They can last for up to three months in the freezer. When you’re ready to enjoy them, simply remove them from the freezer and let them thaw at room temperature for about 20-30 minutes.
Variations and Substitutions
If you want to add your own twist to the Chocolate Honeycomb Bars, consider incorporating nuts or dried fruits into the chocolate coating. Chopped almonds or hazelnuts add a lovely crunch and flavor contrast. Alternatively, try drizzling white chocolate on top for an elegant finish. This will not only enhance the visual appeal but also introduce a contrasting sweetness that works well with the dark chocolate.
For those looking for a gluten-free option, this recipe is naturally free from gluten, but make sure to double-check any packaged ingredients like chocolate. Additionally, if you want a dairy-free version, opt for dairy-free chocolate, which is readily available today. This substitution will ensure that everyone can enjoy these delicious treats without compromising on flavor or texture.
Questions About Recipes
→ Can I use honey instead of golden syrup?
While honey can be used, it will alter the flavor and texture slightly, resulting in a less crunchy honeycomb.
→ How long do these bars last?
These Chocolate Honeycomb Bars can be stored in an airtight container for up to a week.
→ Can I make this recipe vegan?
Yes! Use a vegan chocolate option and explore alternatives for golden syrup if needed.
→ What should I do if my honeycomb doesn't rise?
Make sure your baking soda is fresh, and the sugar syrup reaches the right temperature before adding the baking soda.
Chocolate Honeycomb Bars
Created by: Ruby Lawson
Recipe Type: Oven-Made Sweets
Skill Level: Intermediate
Final Quantity: 16 bars
What You'll Need
For the Honeycomb
- 200g granulated sugar
- 5 tablespoons golden syrup
- 1 teaspoon baking soda
For the Chocolate Coating
- 200g dark chocolate
- 50g milk chocolate
How-To Steps
In a medium saucepan, combine the granulated sugar and golden syrup. Heat over medium heat, stirring until the sugar has dissolved. Allow the mixture to boil without stirring until it reaches a golden caramel color. This should take about 5-7 minutes.
Remove the saucepan from heat and quickly whisk in the baking soda. The mixture will bubble vigorously, so be careful. Stir until the baking soda is fully incorporated.
Pour the mixture onto a lined baking tray and spread it out gently if necessary. Let it cool completely and harden for about an hour.
While the honeycomb is cooling, chop the dark and milk chocolate. Melt them together in a heatproof bowl over simmering water or in the microwave in 30-second intervals.
Once the honeycomb is set, break it into irregular pieces. Dip each piece in the melted chocolate, ensuring it's fully coated. Place the chocolate-covered honeycomb on a baking sheet lined with parchment paper.
Let the chocolate set at room temperature, or refrigerate briefly to solidify. Once hardened, enjoy your homemade Chocolate Honeycomb Bars!
Extra Tips
- Experiment with different types of chocolate or add toppings like nuts or coconut for a fun twist on these bars.
Nutritional Breakdown (Per Serving)
- Calories: 380 kcal
- Total Fat: 26g
- Saturated Fat: 15g
- Cholesterol: 195mg
- Sodium: 85mg
- Total Carbohydrates: 32g
- Dietary Fiber: 3g
- Sugars: 24g
- Protein: 6g